Создайте генератор паролей с помощью Nodejs и Express. Мы узнаем, как создать простой генератор паролей, который будет генерировать простые пароли.

Требования
- Установлены NodeJS и NPM
- Экспресс-модуль
- Основы HTML, CSS и JS
Настройка проекта
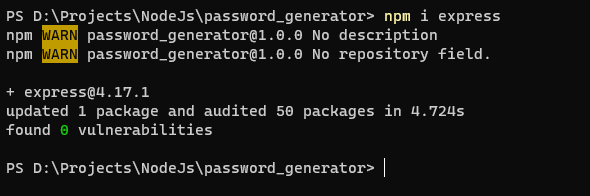
Сначала создайте папку с именем password_generator и инициализируйте там проект узла с помощью npm init. Теперь откройте эту папку и установите модуль express с помощью npm i express.
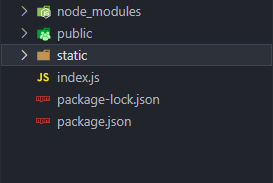
Откройте код Visual Studio, и давайте создадим index.js файл и создадим каталог static и public.
- Статический каталог будет содержать ваши статические файлы, такие как файлы
cssиjs, которые требуются вашему файлу html. - В общедоступном каталоге будут храниться ваши html-файлы, которые вы хотите отобразить на вашем сервере.
Создание веб-сервера
Откройте index.js файл, который вы создали, и введите код.
// IMPORTING REQUIRED MODULES const express = require('express'); // Creating instance of webserver const app = express();// Setting up PORT where server will bind itself to const PORT = process.env.PORT || 3000;// Serving STATIC FILES in static/ directory on our webserver app.use(express.static('static'));// Creating route for / which will send index.html file in our public directory app.get("/", (req, res) => { return res.sendFile(`${__dirname}/public/index.html`); });// Listening to the PORT app.listen(PORT, () => { console.log(`Your app is running on http://localhost:${PORT}/`); });
Теперь, если вы запустите nodemon ., вы увидите веб-страницу.

Создание пользовательского интерфейса генератора паролей
Создайте файл с именем index.html в каталоге public и введите этот код.
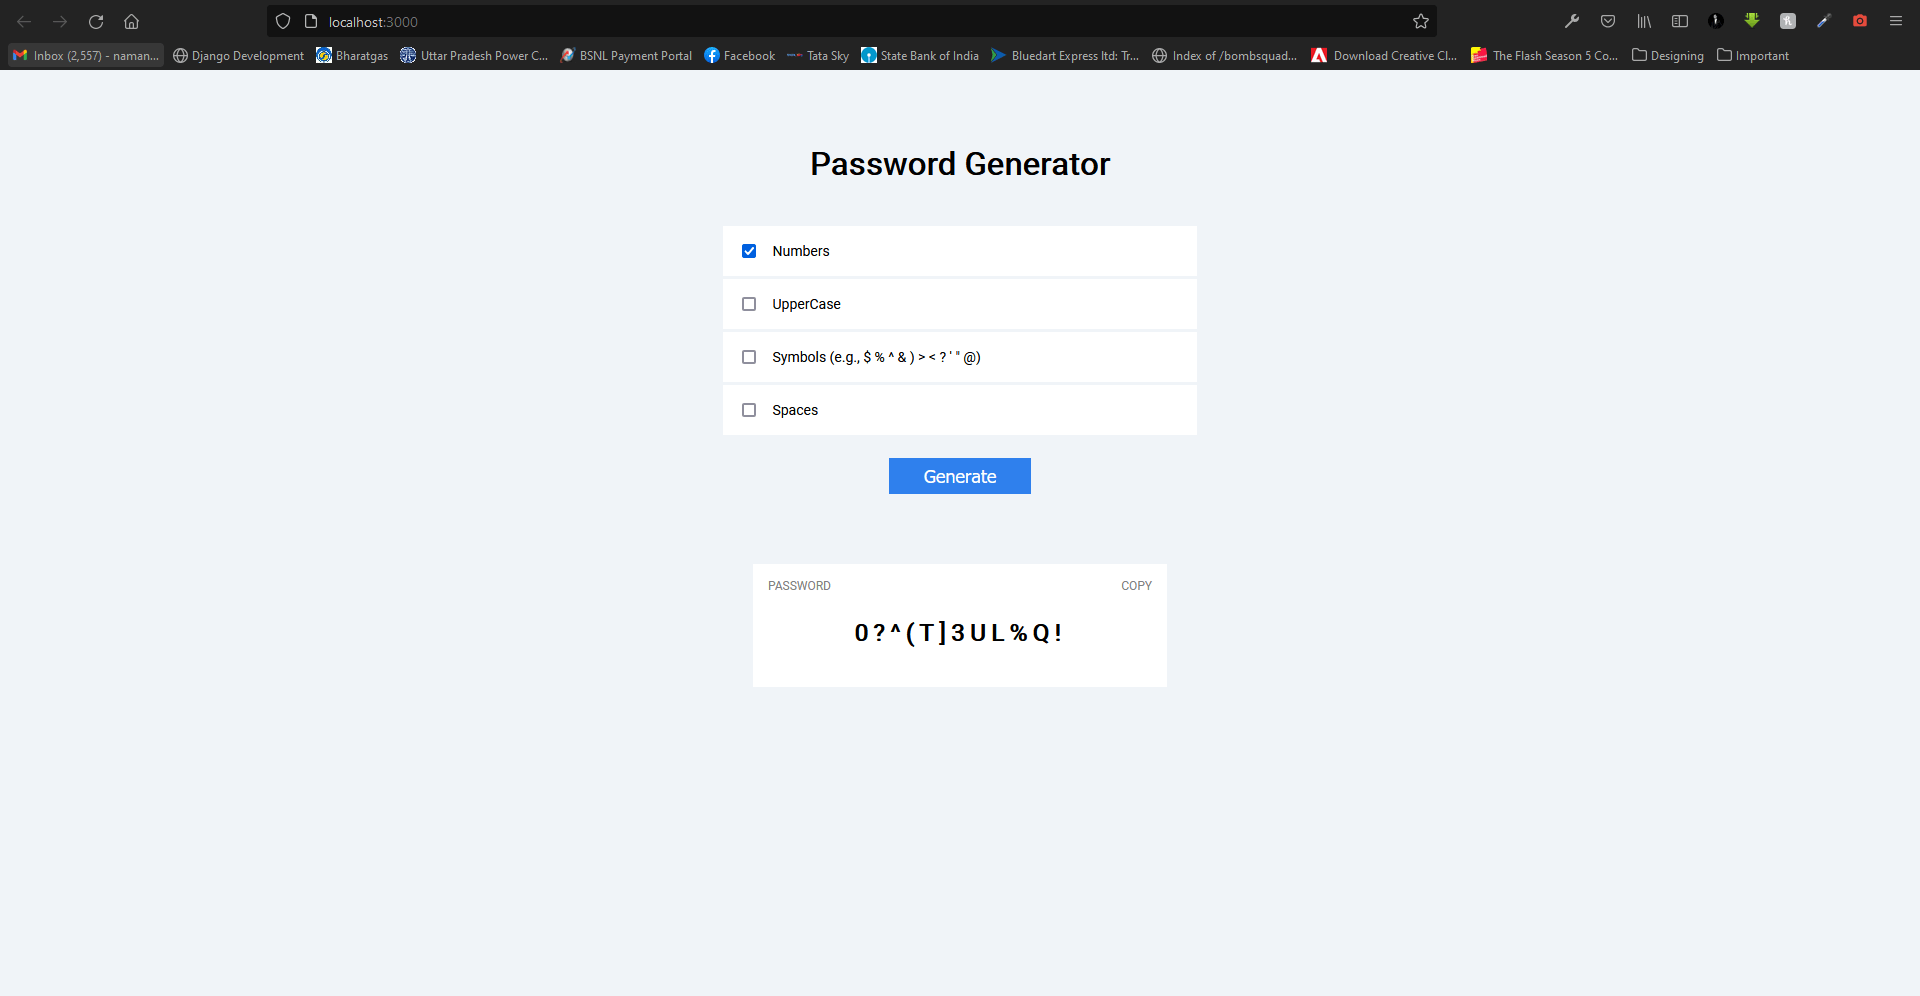
<!DOCTYPE html> <html lang="en"> <head> <meta charset="UTF-8" /> <meta http-equiv="X-UA-Compatible" content="IE=edge" /> <meta name="viewport" content="width=device-width, initial-scale=1.0" /> <title>Password Generator</title> <link rel="stylesheet" href="/style.css" /> </head> <body> <div class="container"> <h1>Password Generator</h1> <div class="blocks"> <!-- CHECKBOXES WHICH WILL WHAT OUR PASSWORD WILL CONTAIN --> <div class="check-form"> <input type="checkbox" name="numbers" id="numbers" checked/> <label for="numbers">Numbers</label> </div> <div class="check-form"> <input type="checkbox" name="uppercase" id="uppercase" /> <label for="uppercase">UpperCase</label> </div> <div class="check-form"> <input type="checkbox" name="symbols" id="symbols" /> <label for="symbols" >Symbols (e.g., $ % ^ & ) > < ? ' " @)</label > </div> <div class="check-form"> <input type="checkbox" name="spaces" id="spaces" /> <label for="spaces">Spaces</label> </div> </div> <!-- BUTTON TO GENERATE PASSWORD --> <button id="generate" class="btn-primary">Generate</button><div class="generate-form"> <div class="flex-row"> <span class="uppercase">Password</span> <span class="uppercase" id="copy">Copy</span> </div> <div class="password"> <!-- HERE WILL BE OUR PASSWORD --> <span id="password">0?^(T]3UL%Q!</span> </div> </div> </div> </body> <script src="/script.js"></script> </html>
Теперь наш index.html файл готов. Давайте стилизуем это. создайте style.css в каталоге static и введите это.
@import url("https://fonts.googleapis.com/css2?family=Roboto&display=swap");html, body { margin: 0; padding: 0; background-color: #f0f4f8; font-family: Roboto, sans-serif; }.container { width: 50%; margin-left: auto; margin-right: auto; display: flex; flex-direction: column; align-items: center; }.container h1 { margin: 75px 0px 40px 0px; }.blocks { width: 50%; font-size: 14px; }.check-form { background-color: white; padding: 15px; margin: 3px; }.check-form label { margin-left: 10px; }.btn-primary { background-color: #2f80ed; border: 0; box-shadow: none;padding: 7px 35px; font-size: 18px; color: white; margin: 20px 0px; }.btn-primary:hover { cursor: pointer; }.generate-form { background-color: white; padding: 15px; margin: 10px; margin-top: 50px; width: 40%; text-align: center; }.uppercase { text-transform: uppercase; color: grey; font-size: 12px; }.flex-row { display: flex; justify-content: space-between; }.password { margin: 25px 0px; font-size: 24px; font-weight: bolder; letter-spacing: 5px; } #copy { user-select: none; }#copy:hover { cursor: pointer; }@media screen and (max-width: 1280px) { .container { width: 75%; } }@media screen and (max-width: 768px) { .blocks { width: 100%; }.generate-form { width: 100%; } }
Теперь, если вы перезагрузите страницу, вы увидите пользовательский интерфейс генератора паролей. Пришло время написать код.
Создание скрипта для генерации пароля
Создайте script.js в каталоге static и введите код.
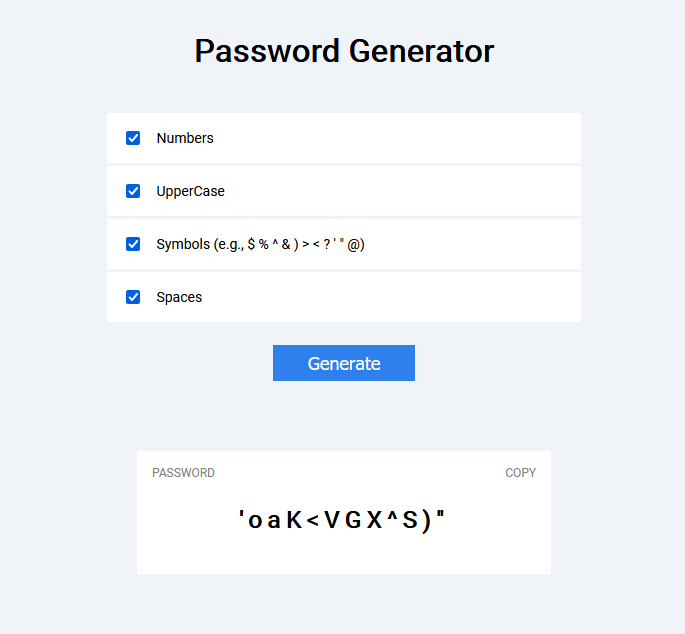
// GET ALL THE VARIABLES WE ARE GONNA NEED const password = document.getElementById("password"); const copy = document.getElementById("copy"); const generate = document.getElementById("generate"); const numbers = document.getElementById("numbers"); const uppercase = document.getElementById("uppercase"); const symbols = document.getElementById("symbols"); const spaces = document.getElementById("spaces");// Listen for the click event on the `copy` and copy the password to your clipboard copy.addEventListener("click", () => { var TempText = document.createElement("input"); TempText.value = password.innerText; document.body.appendChild(TempText); TempText.select();document.execCommand("copy"); document.body.removeChild(TempText); });// Actual Password Generator Code // Listen for click event on `generate` button generate.addEventListener("click", () => { // Creating an empty array var result = []; // list of normal characters var characters = "abcdefghijklmnopqrstuvwxyz"; // If numbers is checked, Add digits to the characters if (numbers.checked) { characters += "0123456789"; }// If uppercase is checked, Add uppercase letters to the characters if(uppercase.checked){ characters += "ABCDEFGHIJKLMNOPQRSTUVWXYZ"; } // If symbols is checked, Add symbols to the characters if(symbols.checked){ characters += "$%^&)><?'\"@"; }// If spaces is checked, Add space to the characters if(spaces.checked){ characters += " "; }// Get the length of `characters` string var charactersLength = characters.length; // For loop to randomly select a random character from characters and add it to the result. You can change the length, (Default: 12) for (var i = 0; i < 12; i++) { result.push( characters.charAt(Math.floor(Math.random() * charactersLength)) ); } // Changing the password password.innerText = result.join(""); });
Ваш генератор паролей готов к работе.
На сегодня все, ребята. Надеюсь, вы создадите эти проекты и узнаете что-то новое.
Вы можете найти эти проекты на Моем веб-сайте. Если вы не можете, подпишитесь, чтобы получать уведомления, когда я публикую о них сообщения.